Planting Cover Crops
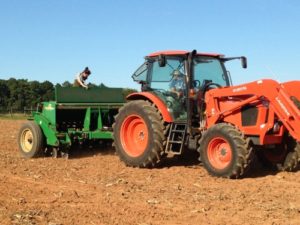
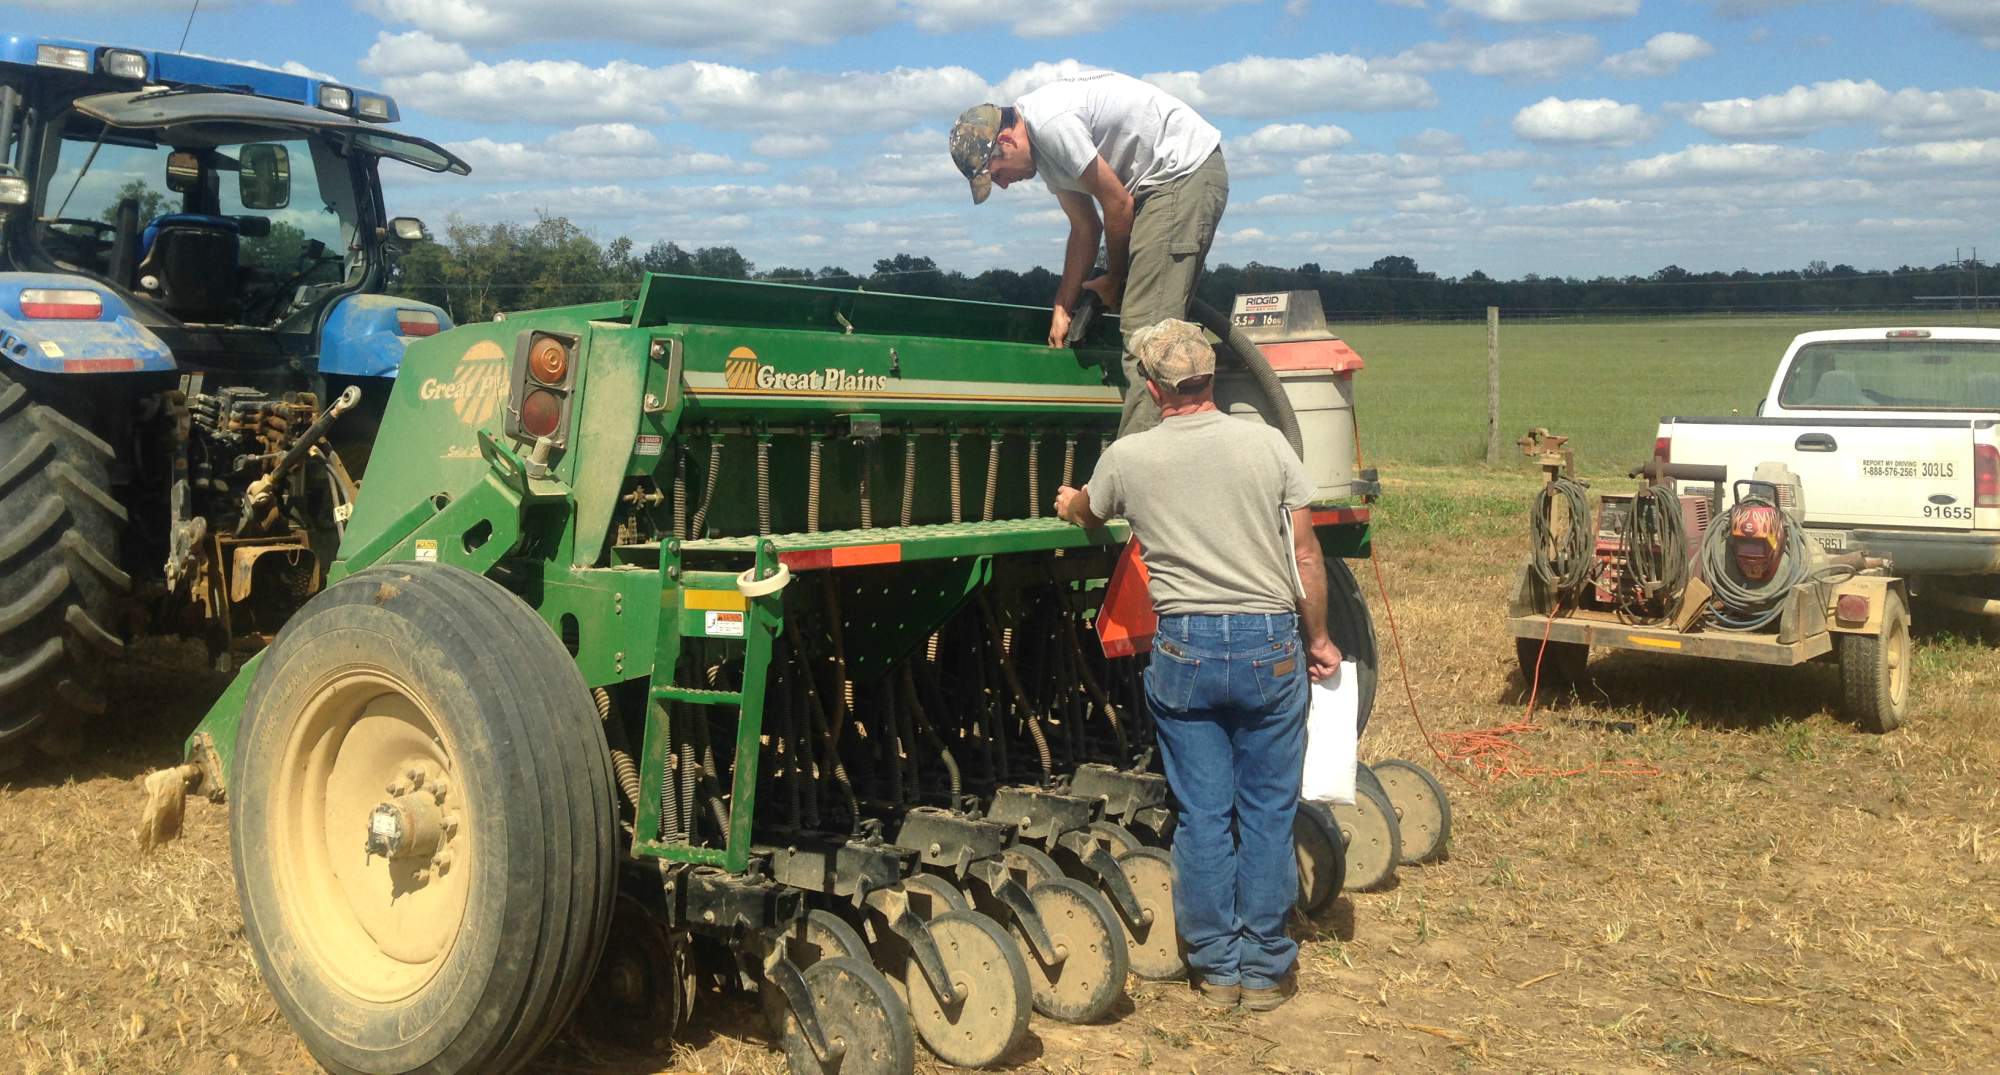
Usually, the most consistent cover crop stand is obtained by using a drill. For larger vegetable production fields, these can be the same drills used for row crop production. Smaller production systems can use multi-row seeders with a seed plate closest to the cover crop seed size. These may be push seeders or can be attached to walk-behind tractors.
Large Scale Conventional Drills – There are many different manufacturers and ways to set up your drill. You should be familiar with the operator’s manual for your particular drill. A good introduction to grain drills and planters can be found here.
Regardless of which type of drill you use, use the tips below to ensure planting success.
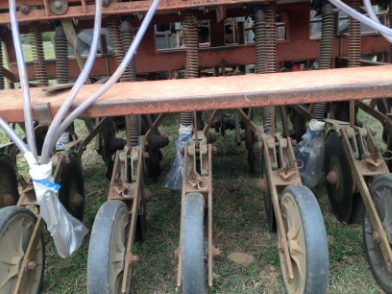
- Check the seed boxes and drop tubes. Spiders particularly love to build webs in drop tubes, which will clog them up. Use an air compressor to blow the tubes out and a flexible wire to make sure they are clear. Planting a field to find missing rows is a frustrating experience.
- Consult a rate chart and calibrate. Drills should have rate charts for settings to obtain a particular seeding rate. Some charts are on the seed boxes, others are found in the operator’s manual. These charts are a good guide but because seed sizes vary considerably even within a particular species, the drill should be calibrated to make sure you are planting the right amount of seed without planting too much. For specific cover crops, seed depths are often given as a range such as ½ to 1 inch. The seeds need to be at the right depth and not too deep.
 Calibration is not difficult. There are a number of methods, but here is a simple and accurate method that will work for conventional and no-till drills.
As you are calibrating the drill check to see that (a) seed is dropping from all tubes, (b) the seed is planted at the proper depth, and (c) the furrow is being closed. Walk behind the drill to check that seed is dropping from all the tubes.
 Calibration should be conducted for each field to account for environmental differences such as soil texture, the present soil moisture conditions, and forecasted weather. In some cases, the seed should be placed a little deeper to take advantage of soil moisture below a dry surface layer. In wetter conditions, the seed may be placed towards the shallower end of the depth range.
- Adjust for proper seed depth. Seed depth will be set on the drill by adjusting the downpressure, the gauge wheels (if present) or the press wheels, depending on the drill. A good rule of thumb is that the furrow opener moves through the soil at twice the desired seed depth. For example, if the seed should be planted at ¼ inch, the opener should be set to ½ inch. There is a limit to this. Most drills will not open deeper than 2 inches depending on the soil type and condition.
Check the planting depth by inspecting the furrow and digging down a short distance to find the seed. One trick to help you find seed that is not inoculated or coated, is to very lightly spraypaint seed spread out on a plastic tarp or newspaper. A light coat of orange or red color will make the seeds much easier to find. You should lightly coat enough seed to fill all the cups in the seed box. It does not take much. A heavy coat of spray paint will gum everything up.
- Account for seed size. Some small seeded cover crops like clover need to be planted very shallow. A small seed box is needed to get these seeds metered out properly. Getting the right depth for small seeds may be particularly difficult with heavier no-till drills. In many cases, tubes from the small seed box can be pulled out to drop the seed on the surface just before the press wheel to keep the seed shallow.
A note on cover crop mixtures. These mixtures often contain a wide range of seed sizes. There seem to be two schools of thought in terms of drilling these mixtures. Some farmers, mix all the seeds into the large seed boxes and plant. Others put small seeded legumes and brassicas in the small seed box and the larger grain seeds in the large seed box. Both methods can work.
- After calibration, make sure all the seed tubes are reattached. Once you are ready to plant, remember to check the seed boxes to ensure these are full. It is always a good idea to check the drive mechanism and seed boxes periodically while you are planting.
Seeders – Some farmers have used multi-row seeders to plant cover crops on prepared vegetable beds. It would be time consuming, but planting multiple rows with a single row push seeder is also possible. The push seeder only works well in well-prepared seed beds that do not have a lot of surface residue or rocks. The seeders work by using a seed plate that provides the right spacing for a seed. For example, a corn seed plate would give about a 7-inch in-row spacing, while the radish plate would give about a 3-inch spacing. You should use the seed plate that corresponds most closely to the seed size of the cover crop and that gives you the right in-row spacing. Most cover crops will perform well at a 3-inch in-row spacing and should be planted in 7-inch rows.
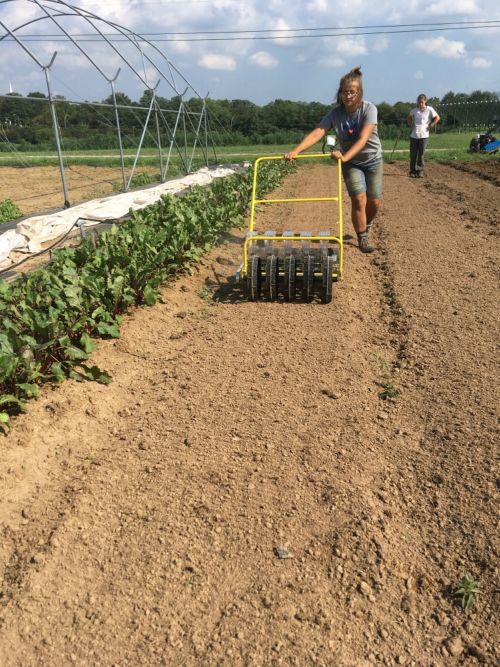
Courtesy of Kristi Durbin UKy
Seeders cannot be calibrated the same way as large drills, but there are several things you should check:
- Check the seed plate. On firm ground so you can easily see the seed, mark a small section of row and place a small amount of seed in the hopper. Push the seeder and note if the cover crop seed is coming out at approximately the right spacing. You may have to experiment with different plates.
- Adjust the furrow opener. On a prepared seed bed, push the seeder for 15 feet and check the depth of the furrow opener. Adjust the furrow opener to the proper depth and test again.
- Calculate the amount of seed needed per bed. Most seeding rates are listed in pounds per acre (lbs/acre). Calculate the amount of seed needed per bed using the following formula:
Square feet/bed = length (feet) x width (feet)
oz/bed = lbs/acre ÷ 43,560 square feet x ___square feet/bed x 16 ozs/lb
Weigh out the amount of cover crop seed needed per bed and place in seed hopper. You should be able to plant the bed with this amount of seed. This is for multiple rows. For example, a 4-foot (48 inches) bed with about a 7-inch row spacing should have 6 rows.
Many vegetable farmers broadcast cover crop seeds. Broadcasting works best with smaller seed cover crops such as clovers or grains. It is more difficult to get even stands with larger seeds such as sunn hemp or cowpeas. Spreaders can be mounted onto ATVs, tractors, high boy sprayers or other equipment to broadcast the seed for larger fields. Smaller fields can be hand broadcast and the seeds lightly incorporated either with a disc or even by raking.
Use the tips below to ensure planting success:
- Check soil moisture. Germination from broadcasted cover crops seeds is greatest if there is sufficient soil moisture. Do not plant in dry soils, unless you are willing to irrigate to get the cover crop to germinate.
- Increase seeding rates. To account for reduced seed/soil contact compared to drilling, the seeding rates should be increased by 20 to 50%.
- Take caution when mixing with other products. Mixing cover crop seed with lime or fertilizers in a spreader and applying in one pass may reduce labor, but can result in a reduced cover crop stand. This is because many fertilizers cause ‘salt burn’ that damages or otherwise renders seed non-viable.
- Calibration. Just like the drill, the spreader should be calibrated accounting for how wide a swath the spreader will cover and the spread pattern. Information on calibrating a bulk dry fertilizer spreader can be found here. The method can be adapted for mounted spreaders.
- Incorporate seed. In prepared vegetable fields or beds, the seed should be incorporated by a light discing. On small beds seed can be incorporated by raking. Some type of incoporation is especially important for larger seeded cover crops.
Information:
- Cool Season Cover Crops Species and Planting Dates and Techniques. Plant Materials Technical Note No: TX-PM-15-03
- Calibration Method for No-till and Conventional Till Drills
- Calibration of Bulk Dry Fertilizer Applicators
- Grain Drills and Planters
Contributors:
Julia Gaskin, Extension Specialist-Retired, University of Georgia; Dr. Dara Parks, Assoc. Professor, Clemson University; Dr. Annette Wszelaki, Professor, University of Tennessee-Knoxville; Dr. Jeanine Davis, Extension Specialist, North Carolina State University